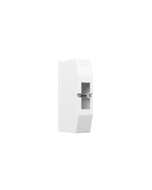
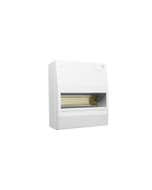
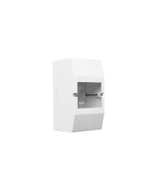
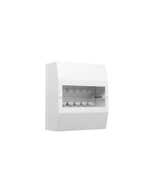
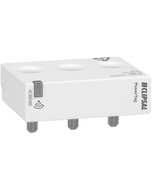
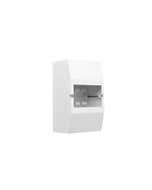
Clipsal Max 4 Contactors Max 4 25A Uc240Vac Ue 240Vac - 4CNT1
Contactor, MAX4, 25 A, 240 VAC, 50 Hz, 1 NO
Dispatch. 2 days
Need more?
This item is currently available for backorder with an estimated arrival time of 2 days
Please note this ETA is provided to us by our suppliers and could potentially be delayed due to factors outside our control. If there are any delays we will contact you to keep you updated.
Price
$68.97 $62.70
Choose your style, Select your Switch and Checkout
We can customise your powerpoint to a range of colours and layouts, suited to your needs.
Clipsal Max 4 Contactors Max 4 25A Uc240Vac Ue 240Vac - 4CNT1
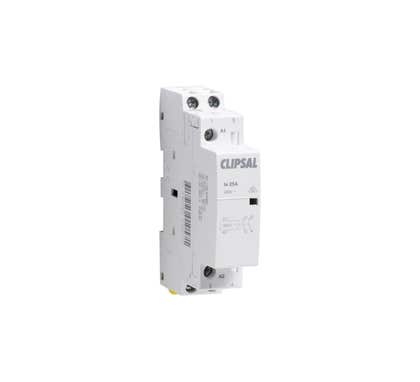


Width 18
Height 69
Depth 84
| SKU | CLI4CNT1 |
|---|---|
| Supplier No | 4CNT1 |
| EAN / Barcode | 9318795010564 |
| Width | 100 |
| Height | 69.000000 |
| Length | 84.000000 |
| Width | 18.000000 |
| Brand | Clipsal |
| Range | Max4 |
| Number of Poles | 1 Pole |
| Voltage | <= 250 V AC |
Clipsal Max 4 Contactors Max 4 25A Uc240Vac Ue 240Vac - 4CNT1
Get Max 4 your buck
Complete protection with high performance. With Clipsal Max 4 you will find a range of enclosures, switchboards, residual current devices, miniature circuit breakers, isolators, distribution boards, overvoltage protection and accessories.
0 of 0 Reviews
A FEW FAQS
Yes the 4CNT2 is rated at 25A at AC1. Some of the key features are: DIN rail mount 1/2 pole 1 module 25 A at AC1 Frequency rating: 50 Hz 220-250 V AC Coil For further information please visit https://www.clipsal.com/Trade/Products/ProductDetail?catno=4CNT2
The operating range of the 4CNT1 contactor is -5 to +60 degrees celsius. Some of the key features are: DIN rail mount 1/2 pole 1 module 20 A at AC1 -5 to 60 deg C Operating Temperature For further information please visit https://www.clipsal.com/Trade/Products/ProductDetail?catno=4CNT1
Yes the part number is 4CTN1
To run a function when you click on a page in PowerLogic SCADA v7.20 (PLS), add the function to the Page Properties of the current page in Citect Graphics Builder. Select the Events tab, check the On page shown box and enter the desired function in the On page shown command box. If you add the function to the While Page Shown, the function will not run if it contains a blocking function. For example, consider the following function where cnt1 has been defined as a Local Variable. FUNCTIONTest() IF cnt1<1000THEN cnt1=cnt1+1; END // cnt1=TagRead("MyPM870\MMXU1\Hz"); END Calling this function from the "While page shown command" box will work because there is no blocking function inside Test(). Alternatively, consider the following modified Cicode with TagRead added, which is blocking function: FUNCTIONTest() // IF cnt1<1000 THEN // cnt1=cnt1+1; // END cnt1=TagRead("MyPM870\MMXU1\Hz"); END This will NOT work and until the tag will be available from the cache, it will generate a hardware alarm (System Alarms page)--"Foreground Cicode cannot block"--and the execution of the function will be cancelled. The alarm will disappear after the code execution has stopped. In the following screen capture of the Client Kernel, we can see that PageFG (page foreground cicode) is in the Stop state since Test() contained a blocking function. Legacy KB System (APS) Data: RESL208839 V2.0, Originally authored by AnVa on 08/10/2012, Last Edited by AnVa on 10/08/2012 Related ranges: PowerSCADA Expert 7.2, PowerLogic SCADA 7.1
Issue: After installing PowerChute Network Shutdown when the configuration wizard runs the PowerChute Setup: Network Configuration page display is blank. Product: PowerChute Network Shutdown version 3.1 Environment: All supported Windows OS Cause: Corruption in pcnsconfig.ini Solution: We recommend uninstalling PCNS 3.1 and installing PCNS 4.2 If continuing with PCNS 3.1 1 - stop PowerChute service Open command prompt as administrator and type net stop PCNS1 2 - Open pcnsconfig.ini using wordpad or notepad The default path to pcnsconfig.ini is C:\Program Files\APC\PowerChute\group1 3 - Enter the system ip information to [Networking] localHostAddress = for IP v4 or UnicastAddress = for IP v6 [Networking] protocol = https httpPort = 3052 httpsPort = 6547 NetworkConfig = IPV4 ESXiVirtualInstall = false HyperVVirtualInstall = MulticastAddress = IPv6NetworkConfig = unicast localHostAddress = 192.168.1.X UnicastAddress = 4 - Add user name, password, and NMC IP information to [NetworkManagementCard] [NetworkManagementCard] mode = single IP_1 = 192.168.0.X port = 80 protocol = http enrolWithNMC = true acceptCerts = false username = apc password = apc NOTE: user name and password are not visible. You need to enter username = along with password =. This information will be read and deleted from the ini file when the service is started. See Knowledge Base document FA159758 for assistance with PCNS user name and password. If port has been changed from 80 and protocol has been changed they will need to be adjusted accordingly. 5 - Restart PowerChute service from command prompt type net start PCNS1 6 - After restarting PCNS1 service log into PCNS web page and select Shutdown Settings to complete the configuration.